Ingredients
Equipment
Method
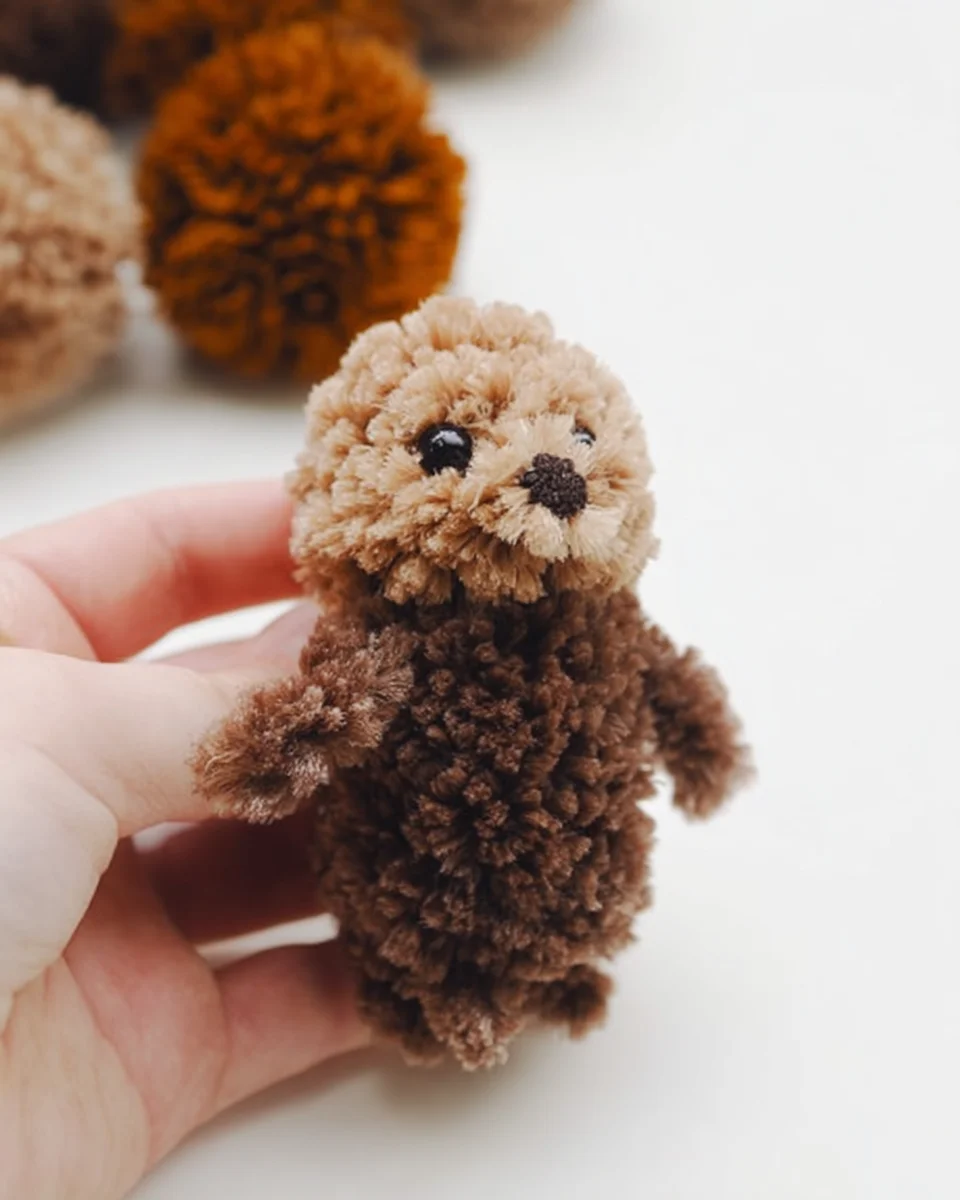
- Step 1: Using the brown yarn, create two large pom poms for the body and head of the otter. If you have a pom pom maker, wrap the yarn around it, tie it securely, and cut the loops.
- Step 2: Make a smaller white pom pom for the otter's snout and attach it to the larger head pom pom using craft glue.
- Step 3: Glue two googly eyes onto the head pom pom just above the snout for a cute look.
- Step 4: Cut two small circles from the brown felt for the ears and two smaller circles from the white felt for the inner ears. Glue the inner ears onto the brown circles and then glue the ears to the top of the head pom pom.
- Step 5: Attach the larger pom pom (the body) to the bottom of the head pom pom using craft glue.
- Step 6: If you're using pipe cleaners, cut three small pieces and glue them to the snout area for whiskers.
- Step 7: Use the black yarn to create a small nose by making a tiny pom pom or simply drawing a nose with a marker. Glue it onto the snout.
- Step 8: Allow the glue to dry completely. Your pom pom otter is now ready to be displayed or played with!
Notes
Store your completed pom pom otter in a cool, dry place. Consider placing it in a clear container or decorative box for protection.