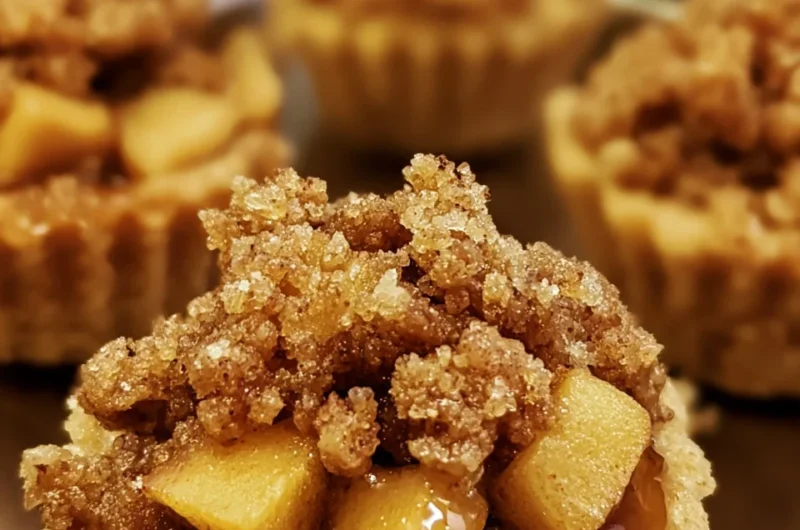
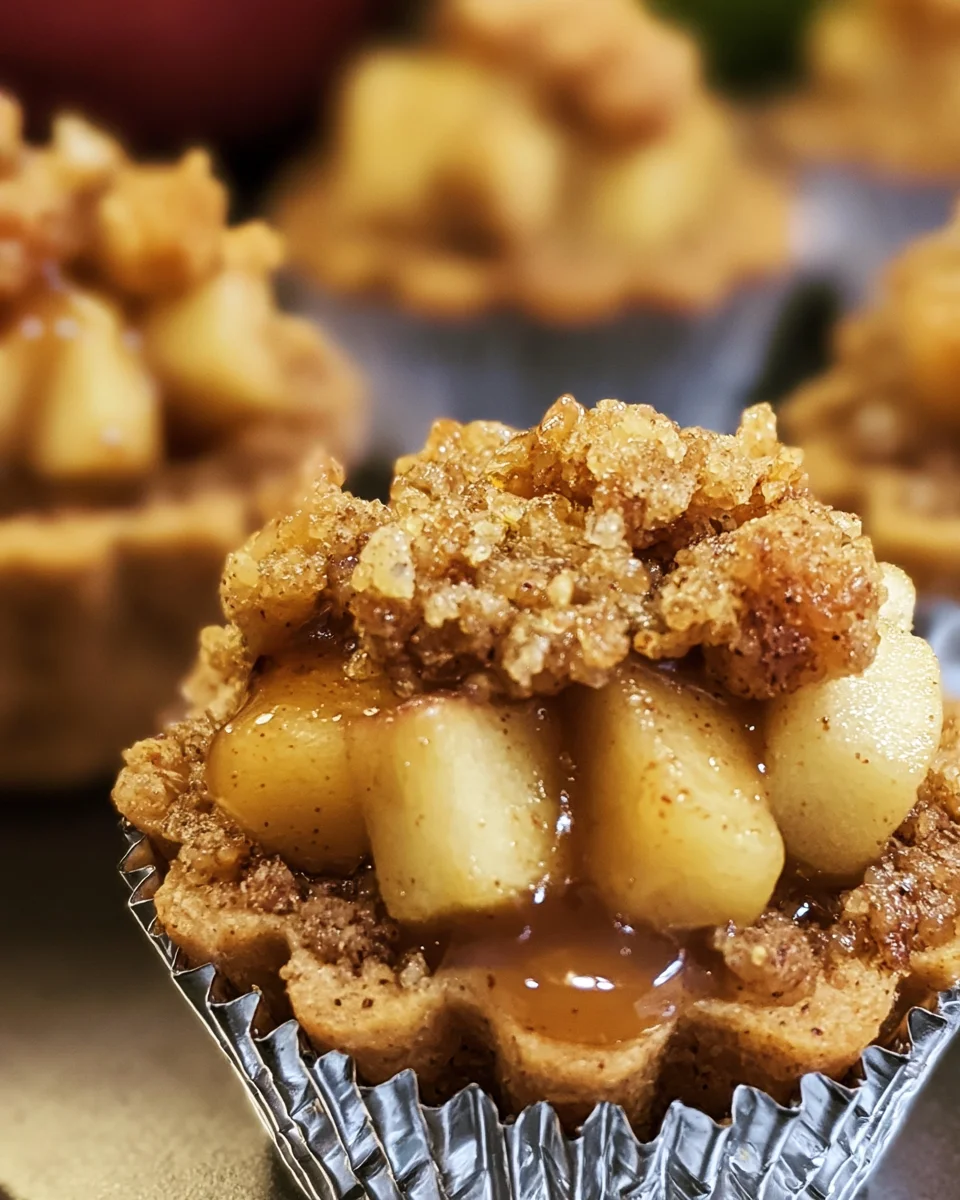
There’s something so heartwarming about the smell of baked apples wafting through your kitchen, isn’t there? Easy Apple Crisp Bites evoke the nostalgia of autumn afternoons spent with family, all gathered around the table, enjoying a delicious dessert. This recipe is not only quick to make but also incredibly satisfying, making it a perfect choice for any occasion!
Why You’ll Love Easy Apple Crisp Bites
- Fast
- Easy
- Giftable
- Crowd-pleasing
Ingredients
- 2 large apples, peeled, cored, and diced – Choose your favorite variety for sweetness.
- 1 tablespoon lemon juice – This helps keep the apples fresh and adds a nice zing.
- 1 teaspoon cinnamon – A warm spice that complements the apples beautifully.
- 1/4 cup brown sugar – For that rich, caramel-like flavor.
- 1 cup rolled oats – They give the crisp its delightful texture.
- 1/2 cup all-purpose flour – Helps bind everything together.
- 1/4 cup granulated sugar – A bit of sweetness to balance the flavors.
- 1/2 teaspoon baking powder – For a little lift in your topping.
- 1/4 teaspoon salt – Enhances all the flavors.
- 1/2 cup cold butter, cubed – Adds richness and creates a crumbly topping.
- 1/4 cup chopped nuts (optional) – Adds a nice crunch.
- Vanilla ice cream (for serving, optional) – The perfect complement to warm apple crisp.
How to Make Easy Apple Crisp Bites
Let’s get started on this delightful journey!
- Preheat your oven to 350°F (175°C) and grease a 9×9 inch baking dish.
- In a large bowl, combine the diced apples, lemon juice, cinnamon, and brown sugar. Mix well and then spread the apple mixture evenly in the prepared baking dish.
- In another bowl, mix together the rolled oats, flour, granulated sugar, baking powder, and salt.
- Add the cubed cold butter to the oat mixture. Using a pastry cutter or your fingers, mix until the mixture resembles coarse crumbs.
- If using, stir in the chopped nuts for an extra crunch.
- Sprinkle the oat mixture evenly over the apples in the baking dish.
- Bake in the preheated oven for 25-30 minutes, or until the topping is golden brown and the apples are tender.
- Remove from the oven and let cool for a few minutes before serving.
- Serve warm, optionally topped with vanilla ice cream for a decadent treat!
Substitutions & Additions
Feel free to get creative! You can swap out the apples for pears or peaches, or even mix different fruits together. If you’re looking for a healthier option, consider using coconut oil instead of butter or substituting some of the flour with almond flour for a gluten-free version. For a fun twist, try adding a handful of raisins or dried cranberries to the apple mixture!
Tips for Success
- Make sure your butter is cold for the best crumbly texture.
- Don’t overmix the topping; you want those lovely chunks for a great crunch.
- Prep ahead by chopping the apples and mixing the dry ingredients the night before to save time.
How to Store Easy Apple Crisp Bites
These bites can be stored in an airtight container in the refrigerator for up to 3 days. If you want to enjoy them later, you can freeze them for up to 2 months. Just make sure to let them cool completely before wrapping them in plastic wrap or placing them in a freezer-safe container. When you’re ready to eat, just pop them in the oven to warm up!
FAQs
Can I use other fruits besides apples?
Absolutely! Pears, peaches, or even berries would work wonderfully in this recipe.
Can I make this in advance?
Yes! You can prepare the apple mixture and topping ahead of time and assemble just before baking.
What can I serve with Easy Apple Crisp Bites?
They’re delicious on their own, but a scoop of vanilla ice cream or whipped cream makes them even more special!
For more delicious recipes, check out Easy S’more Bars or Blueberry Swirl Yogurt Bites for treats you will love!
Don’t forget to follow our Pinterest for more cozy recipes and kitchen inspiration!
Easy Apple Crisp Bites
Ingredients
Equipment
Method
- Step 1: Preheat your oven to 350°F (175°C) and grease a 9x9 inch baking dish.
- Step 2: In a large bowl, combine the diced apples, lemon juice, cinnamon, and brown sugar. Mix well and then spread the apple mixture evenly in the prepared baking dish.
- Step 3: In another bowl, mix together the rolled oats, flour, granulated sugar, baking powder, and salt.
- Step 4: Add the cubed cold butter to the oat mixture. Using a pastry cutter or your fingers, mix until the mixture resembles coarse crumbs.
- Step 5: If using, stir in the chopped nuts for an extra crunch.
- Step 6: Sprinkle the oat mixture evenly over the apples in the baking dish.
- Step 7: Bake in the preheated oven for 25-30 minutes, or until the topping is golden brown and the apples are tender.
- Step 8: Remove from the oven and let cool for a few minutes before serving.
- Step 9: Serve warm, optionally topped with vanilla ice cream for a decadent treat!