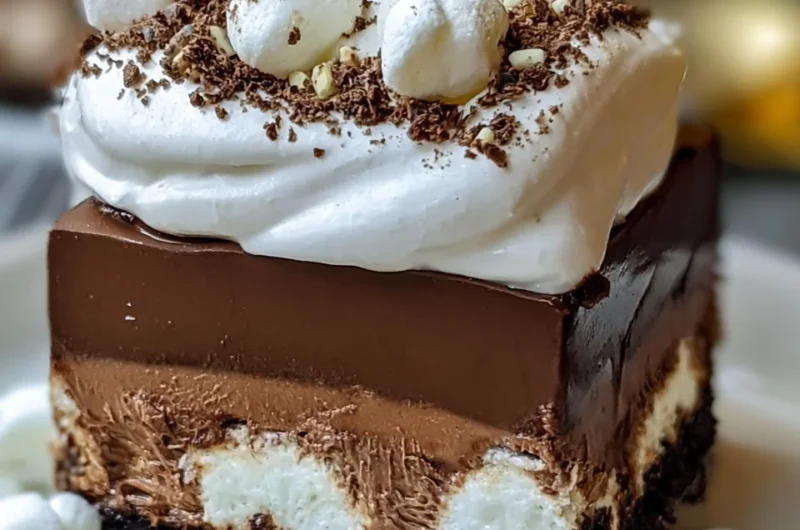
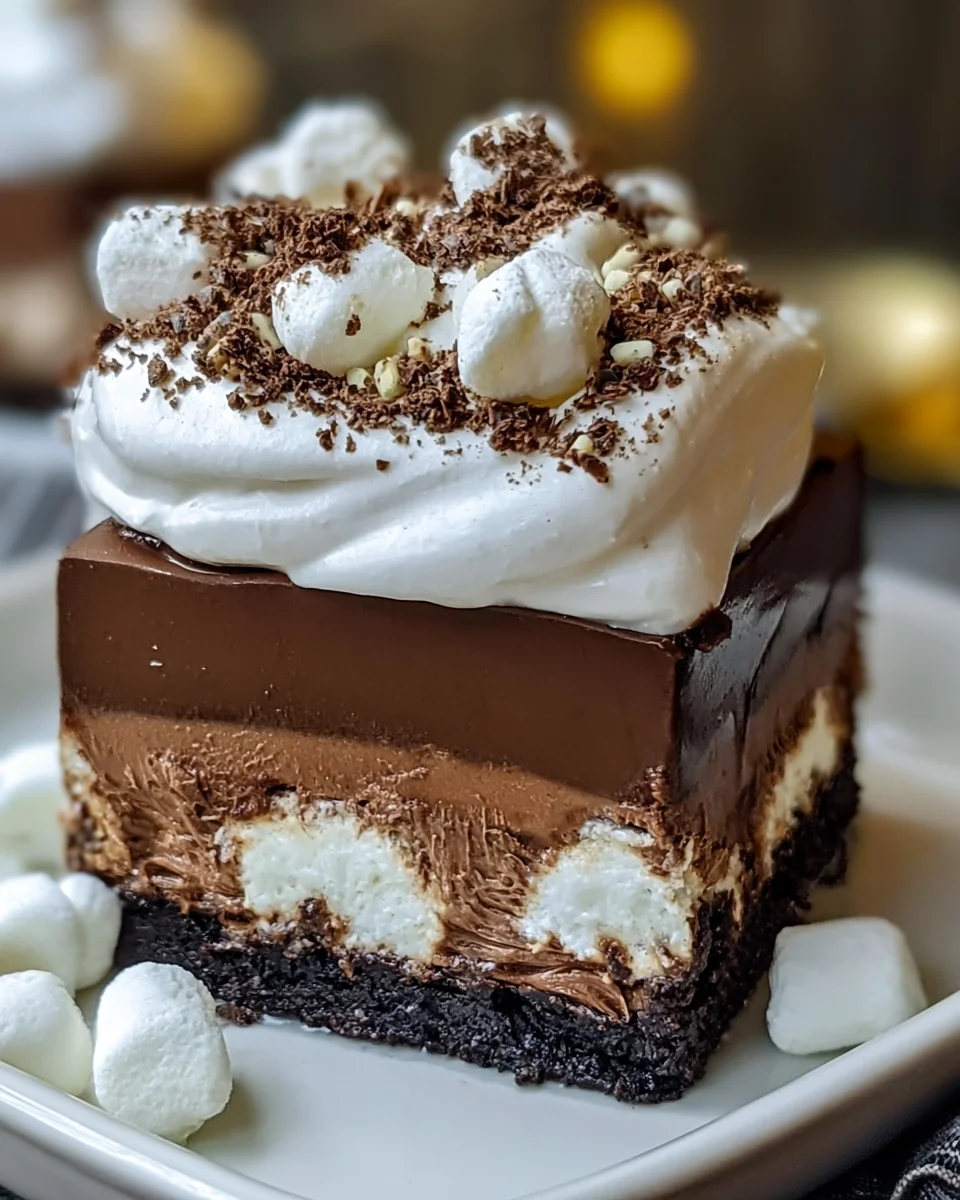
There’s something truly magical about a dessert that brings back childhood memories, isn’t there? The rich aroma of hot chocolate wafting through the kitchen, cozy evenings with loved ones, and the sweet taste of chocolate melting in your mouth. This No-Bake Hot Chocolate Layered Dessert captures all those warm, fuzzy feelings while being incredibly easy and quick to whip up. Trust me, you’ll want this dessert in your recipe box, not just for the holidays, but all year round!
Why You’ll Love No-Bake Hot Chocolate Layered Dessert
- Fast
- Easy
- Giftable
- Crowd-pleasing
Ingredients
- 1 cup heavy whipping cream – This adds a luscious, creamy texture.
- 1 cup milk – Feel free to use any type you prefer, including almond or oat milk.
- 1 cup hot chocolate mix – Use your favorite brand for the best flavor.
- 8 oz cream cheese, softened – This provides a rich base for our dessert.
- 1/2 cup powdered sugar – Sweetness to balance the richness.
- 1 tsp vanilla extract – A splash of warmth and flavor.
- 1 cup mini marshmallows – The classic hot chocolate topping!
- 1/2 cup chocolate chips – Because more chocolate is always better.
- 1 cup crushed graham crackers – For that delicious crust.
- 1/4 cup melted butter – To bind the crust together.
How to Make No-Bake Hot Chocolate Layered Dessert
- Prepare the Graham Cracker Crust:
In a medium bowl, combine the crushed graham crackers and melted butter. Mix until the crumbs are evenly coated. Press the mixture into the bottom of a 9×9-inch baking dish to form a crust.
- Make the Hot Chocolate Layer:
In a separate bowl, whisk together the hot chocolate mix and milk until fully dissolved. In another bowl, beat the softened cream cheese and powdered sugar until smooth. Gradually add the hot chocolate mixture to the cream cheese mixture, mixing until well combined.
- Whip the Cream:
In a large bowl, whip the heavy cream until soft peaks form. Gently fold the whipped cream into the hot chocolate mixture until fully incorporated.
- Layer the Dessert:
Spread half of the hot chocolate mixture over the graham cracker crust. Sprinkle half of the mini marshmallows and half of the chocolate chips over the layer. Add the remaining hot chocolate mixture on top, spreading it evenly. Top with the remaining mini marshmallows and chocolate chips.
- Chill:
Cover the dessert with plastic wrap and refrigerate for at least 4 hours, or overnight for best results.
- Serve:
Once set, slice the dessert into squares and serve chilled. Enjoy!
Substitutions & Additions
If you’re feeling adventurous, try using flavored hot chocolate mixes like peppermint or caramel for a twist. You can also swap the mini marshmallows for crushed Oreos for a fun texture. If you want to add a bit of crunch, toss in some chopped nuts or sprinkles in the layers!
Tips for Success
- Make sure your cream cheese is softened to prevent lumps in your mixture.
- Don’t rush the chilling time; allowing it to set overnight makes a big difference.
- When folding in the whipped cream, be gentle to keep the light and airy texture.
How to Store No-Bake Hot Chocolate Layered Dessert
This dessert can be stored in the refrigerator for up to 3 days. Just make sure to keep it covered to maintain its freshness. I recommend slicing it into squares and serving it right from the fridge for the best experience!
FAQs
Can I use low-fat cream cheese? Yes, but it may alter the texture slightly. Full-fat cream cheese gives the dessert a richer taste.
Can I freeze this dessert? It’s not recommended, as the whipped cream may not hold up well after freezing. It’s best enjoyed fresh!
Is there a way to make this dairy-free? Absolutely! Use dairy-free cream cheese and a non-dairy milk of your choice.
For more delicious recipes, check out easy s’more bars or homemade rock candy for treats you will love!
If you love this recipe as much as I do, be sure to follow us on Pinterest for more sweet inspiration!
No-Bake Hot Chocolate Layered Dessert
Ingredients
Equipment
Method
- Step 1: In a medium bowl, combine the crushed graham crackers and melted butter. Mix until the crumbs are evenly coated. Press the mixture into the bottom of a 9x9-inch baking dish to form a crust.
- Step 2: In a separate bowl, whisk together the hot chocolate mix and milk until fully dissolved. In another bowl, beat the softened cream cheese and powdered sugar until smooth. Gradually add the hot chocolate mixture to the cream cheese mixture, mixing until well combined.
- Step 3: In a large bowl, whip the heavy cream until soft peaks form. Gently fold the whipped cream into the hot chocolate mixture until fully incorporated.
- Step 4: Spread half of the hot chocolate mixture over the graham cracker crust. Sprinkle half of the mini marshmallows and half of the chocolate chips over the layer. Add the remaining hot chocolate mixture on top, spreading it evenly. Top with the remaining mini marshmallows and chocolate chips.
- Step 5: Cover the dessert with plastic wrap and refrigerate for at least 4 hours, or overnight for best results.
- Step 6: Once set, slice the dessert into squares and serve chilled. Enjoy!