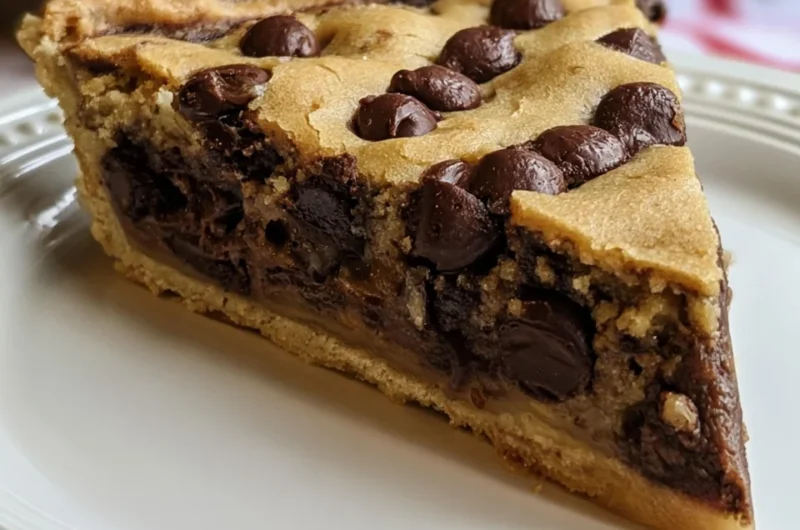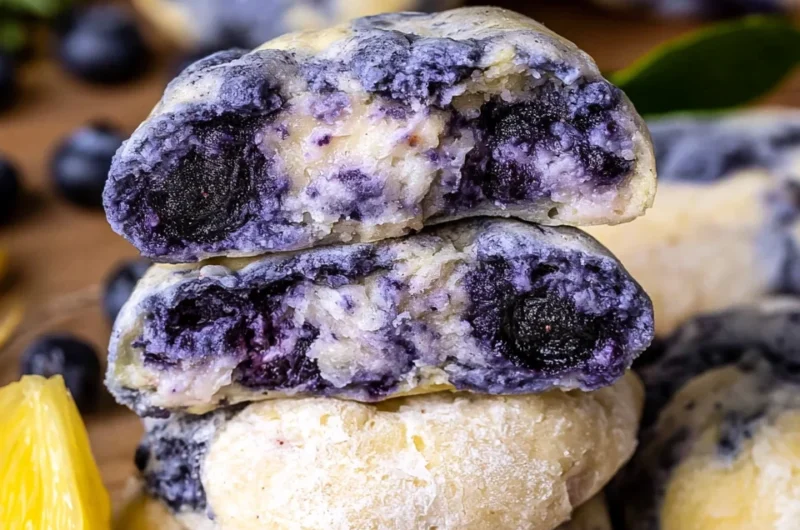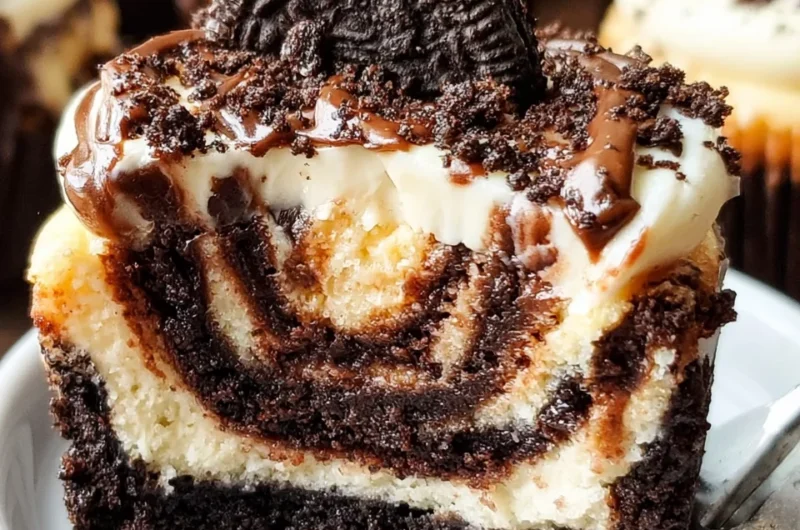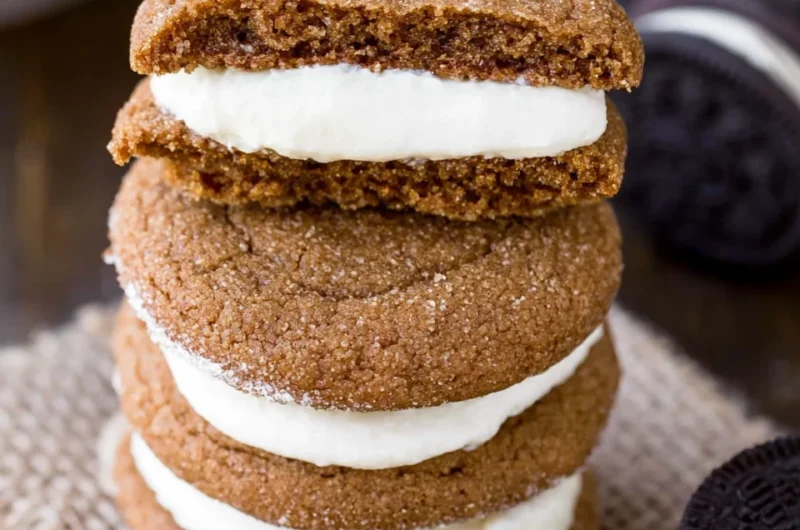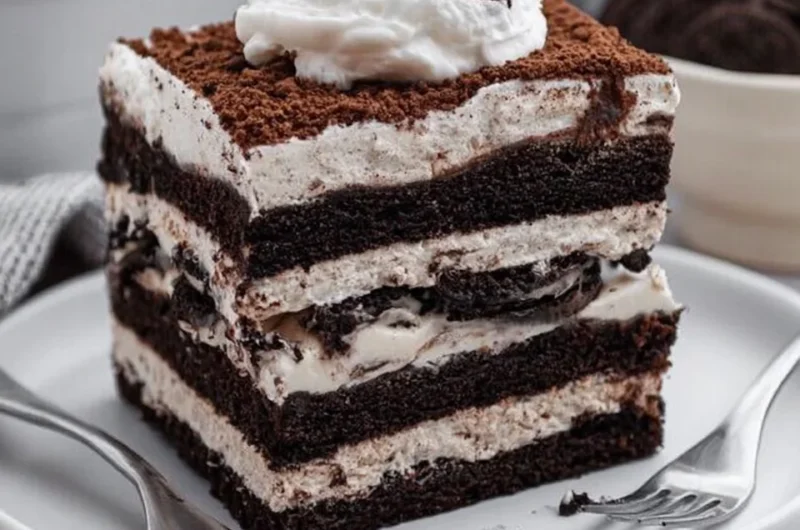

There’s something magical about a dessert that combines the rich flavors of chocolate and peanut butter. This indulgent Reese’s Chocolate Peanut Butter Cup Earthquake Cake is not just a treat; it’s a nostalgic journey back to childhood, where sweets were the highlight of every gathering. With its gooey chocolate goodness and delightful peanut butter swirls, this cake is sure to create memorable moments with every bite. Plus, it’s incredibly easy to whip up, making it perfect for any occasion!
Why You’ll Love Indulgent Reese’s Chocolate Peanut Butter Cup Earthquake Cake
- Fast
- Easy
- Giftable
- Crowd-pleasing
Ingredients
- 1 box chocolate cake mix – This is your base, and it makes everything so simple!
- 1 cup water – Helps to mix everything together smoothly.
- 1/2 cup vegetable oil – Adds moisture and richness.
- 3 large eggs – Essential for binding the ingredients.
- 1 cup creamy peanut butter – The star ingredient that adds that delicious nutty flavor.
- 1 cup powdered sugar – For that sweet, creamy filling.
- 1 cup chocolate chips – Because who can resist more chocolate?
- 1 cup Reese’s Peanut Butter Cups, chopped – A delightful surprise in every bite!
- 1/2 cup milk – To create a luscious chocolate sauce.
- 1/4 cup cocoa powder – Intensifies the chocolate flavor.
- 1 tsp vanilla extract – A touch of warmth to round out the flavors.
- 1/2 tsp salt – Balances the sweetness perfectly.
How to Make Indulgent Reese’s Chocolate Peanut Butter Cup Earthquake Cake
- Preheat the Oven: Start by preheating your oven to 350°F (175°C). Don’t forget to grease a 9×13 inch baking pan to prevent sticking!
- Prepare the Cake Batter: In a large mixing bowl, combine the chocolate cake mix, water, vegetable oil, and eggs. Mix until well combined and smooth.
- Add Peanut Butter Mixture: In a separate bowl, mix together the creamy peanut butter and powdered sugar until smooth. Drop spoonfuls of this mixture into the cake batter, and gently swirl it in with a knife to create a beautiful marbled effect.
- Incorporate Chocolate Chips and Reese’s: Stir in the chocolate chips and chopped Reese’s Peanut Butter Cups into the batter, making it even more indulgent.
- Pour into Pan: Pour the batter into the prepared baking pan, spreading it evenly with a spatula.
- Bake: Bake in the preheated oven for 30-35 minutes, or until a toothpick inserted into the center comes out clean.
- Make Chocolate Sauce: While the cake is baking, prepare the chocolate sauce by combining the milk, cocoa powder, vanilla extract, and salt in a small saucepan over medium heat. Stir until the mixture is smooth and begins to simmer. Remove from heat.
- Add Sauce to Cake: Once the cake is done baking, remove it from the oven and immediately pour the chocolate sauce over the top, spreading it evenly to soak into the cake.
- Cool and Serve: Allow the cake to cool for at least 15 minutes before serving. Enjoy warm or at room temperature for the best experience!
Substitutions & Additions
If you don’t have chocolate cake mix on hand, you can easily use a homemade chocolate cake recipe. Want to add a twist? Try adding crushed nuts for an extra crunch or drizzle some extra melted chocolate over the top before serving. You could even swap out the Reese’s for your favorite candy bars – the options are endless!
Tips for Success
- Make sure to mix the peanut butter and powdered sugar thoroughly to avoid clumps in your cake.
- Keep an eye on the cake while it bakes; ovens can vary, and you want to avoid overbaking.
- If you’re making this ahead of time, you can prepare the cake and sauce separately and combine them just before serving for the best texture.
How to Store Indulgent Reese’s Chocolate Peanut Butter Cup Earthquake Cake
This cake can be stored at room temperature in an airtight container for up to 3 days. If you want it to last longer, consider refrigerating it, where it will stay fresh for about a week. Just remember to let it come to room temperature before serving for that perfect gooey texture!
FAQs
- Can I freeze this cake? Yes! Wrap it tightly in plastic wrap and foil, and it will last for up to 3 months in the freezer.
- Can I make this cake without eggs? Absolutely! You can use applesauce or a flax egg as a substitute for eggs.
- What can I serve with this cake? A scoop of vanilla ice cream or whipped cream pairs beautifully with this rich cake!
Indulging in this decadent Reese’s Chocolate Peanut Butter Cup Earthquake Cake is sure to bring a smile to your face and joy to your gatherings. For more delicious recipes, check out Easy S’more Bars for a delightful treat or Homemade Rock Candy for something fun and sweet to make with kids!
Don’t forget to follow us on Pinterest for more delicious ideas and inspiration!
Indulgent Reese's Chocolate Peanut Butter Cup Earthquake Cake
Ingredients
Equipment
Method
- Step 1: Preheat your oven to 350°F (175°C). Grease a 9x13 inch baking pan to prevent sticking.
- Step 2: In a large mixing bowl, combine the chocolate cake mix, water, vegetable oil, and eggs. Mix until well combined and smooth.
- Step 3: In a separate bowl, mix together the creamy peanut butter and powdered sugar until smooth. Drop spoonfuls of this mixture into the cake batter, and gently swirl it in with a knife to create a beautiful marbled effect.
- Step 4: Stir in the chocolate chips and chopped Reese’s Peanut Butter Cups into the batter, making it even more indulgent.
- Step 5: Pour the batter into the prepared baking pan, spreading it evenly with a spatula.
- Step 6: Bake in the preheated oven for 30-35 minutes, or until a toothpick inserted into the center comes out clean.
- Step 7: While the cake is baking, prepare the chocolate sauce by combining the milk, cocoa powder, vanilla extract, and salt in a small saucepan over medium heat. Stir until the mixture is smooth and begins to simmer. Remove from heat.
- Step 8: Once the cake is done baking, remove it from the oven and immediately pour the chocolate sauce over the top, spreading it evenly to soak into the cake.
- Step 9: Allow the cake to cool for at least 15 minutes before serving. Enjoy warm or at room temperature for the best experience!