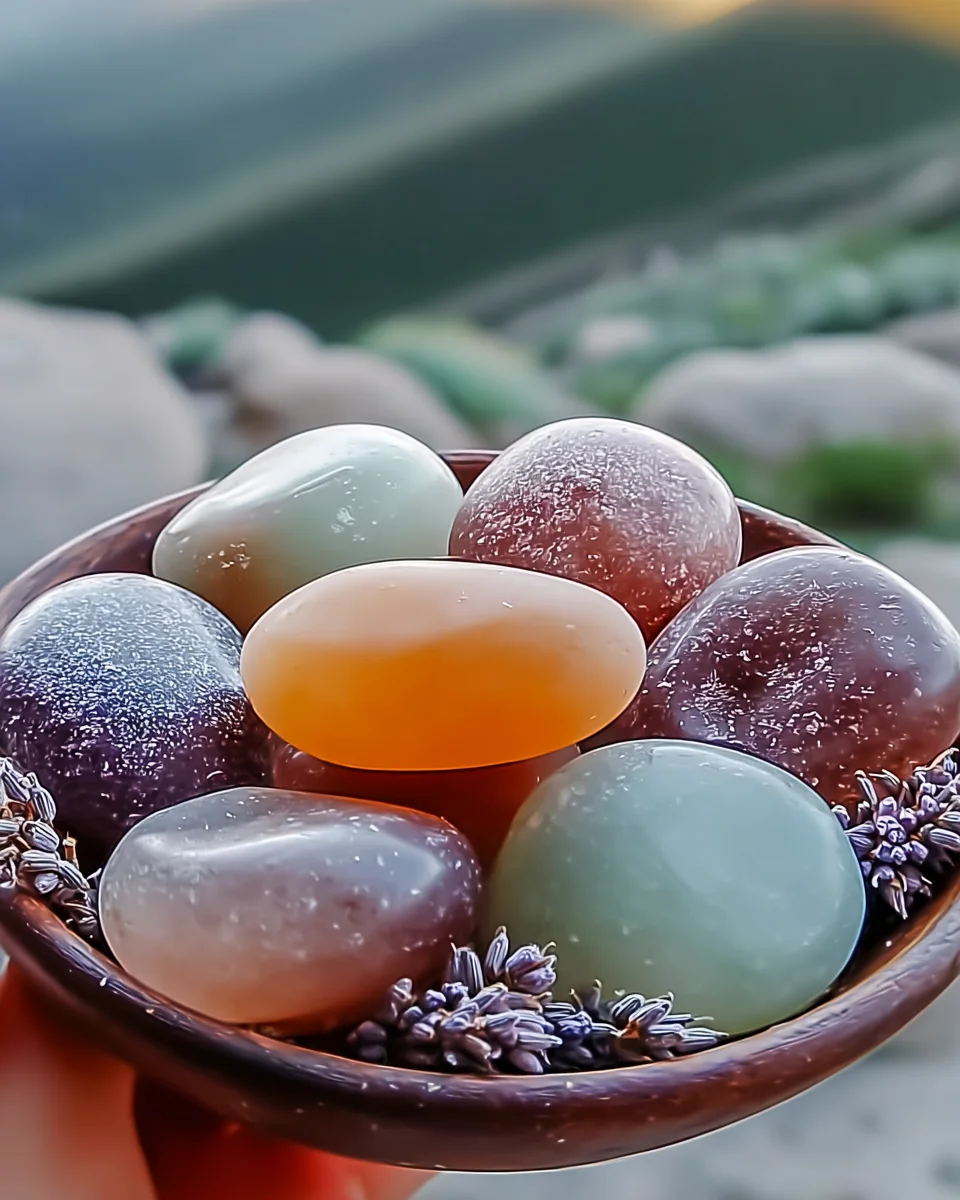
There’s something so comforting about a beautifully scented home. It brings back memories of childhood, family gatherings, and cozy evenings. Today, I’m excited to share a recipe that’s not only simple but also super fun to make—Easy DIY Scented Aroma Stones! These little gems are perfect for freshening up any space, and trust me, they make fabulous gifts too!
Why You’ll Love Easy DIY Scented Aroma Stones Recipe
- Fast
- Easy
- Giftable
- Crowd-pleasing
Ingredients
- 1 cup baking soda: This is the main ingredient that gives our aroma stones their structure.
- 1/2 cup cornstarch: Helps to create a smooth texture.
- 1/2 cup water: To bring our mixture together.
- Essential oils: Choose your favorites for a personalized scent. Lavender, eucalyptus, or citrus are all great options!
- Silicone molds: These will shape your aroma stones. Get creative with fun shapes!
How to Make Easy DIY Scented Aroma Stones Recipe
Let’s dive into the steps! Making these aroma stones is a breeze, and I can’t wait for you to try it.
- In a mixing bowl, combine the baking soda and cornstarch.
- Gradually add water to the dry mixture, stirring continuously until a dough forms.
- Add your preferred essential oils to the mixture, adjusting the amount based on your desired scent strength.
- Mix thoroughly to ensure the essential oils are evenly distributed.
- Pack the mixture into silicone molds, pressing down firmly to avoid air pockets.
- Allow the aroma stones to dry completely, which may take 24-48 hours depending on humidity.
- Once dry, carefully remove the stones from the molds.
- Store the aroma stones in a cool, dry place until ready to use.
Substitutions & Additions
If you want to switch things up, here are some fun ideas:
- Use different types of essential oils to create unique blends.
- Add a few drops of food coloring for a pop of color.
- Incorporate dried herbs or flower petals for an added touch.
Tips for Success
Here are some tips I’ve learned along the way to ensure your aroma stones come out perfectly:
- Make sure to pack the mixture tightly into the molds to prevent any cracks.
- Try to keep the drying area warm and dry for the best results.
- Don’t be afraid to experiment with different scents and combinations!
How to Store Easy DIY Scented Aroma Stones Recipe
Once your aroma stones are dry, store them in a cool, dry place. They can last for several months if kept away from moisture. Just remember, the scent may fade over time, so feel free to refresh them with a few drops of essential oil when needed.
FAQs
Can I use any essential oils? Yes! Choose your favorite scents, but be sure to check for any skin sensitivities.
How long do the aroma stones last? They can last several months, but refreshing them with essential oils will keep the scent strong.
Can I use regular molds instead of silicone? Silicone molds work best for easy removal, but you can try other types if you’re careful.
Making these Easy DIY Scented Aroma Stones is such a joy, and I hope you find the same happiness in creating them! For more delicious recipes, check out my blog or enjoy some delightful treats like French Onion Soup Pasta that you will love!
Don’t forget to follow my Pinterest for more creative ideas and inspiration!
Easy DIY Scented Aroma Stones
Ingredients
Equipment
Method
- Step 1: In a mixing bowl, combine the baking soda and cornstarch.
- Step 2: Gradually add water to the dry mixture, stirring continuously until a dough forms.
- Step 3: Add your preferred essential oils to the mixture, adjusting the amount based on your desired scent strength.
- Step 4: Mix thoroughly to ensure the essential oils are evenly distributed.
- Step 5: Pack the mixture into silicone molds, pressing down firmly to avoid air pockets.
- Step 6: Allow the aroma stones to dry completely, which may take 24-48 hours depending on humidity.
- Step 7: Once dry, carefully remove the stones from the molds.
- Step 8: Store the aroma stones in a cool, dry place until ready to use.