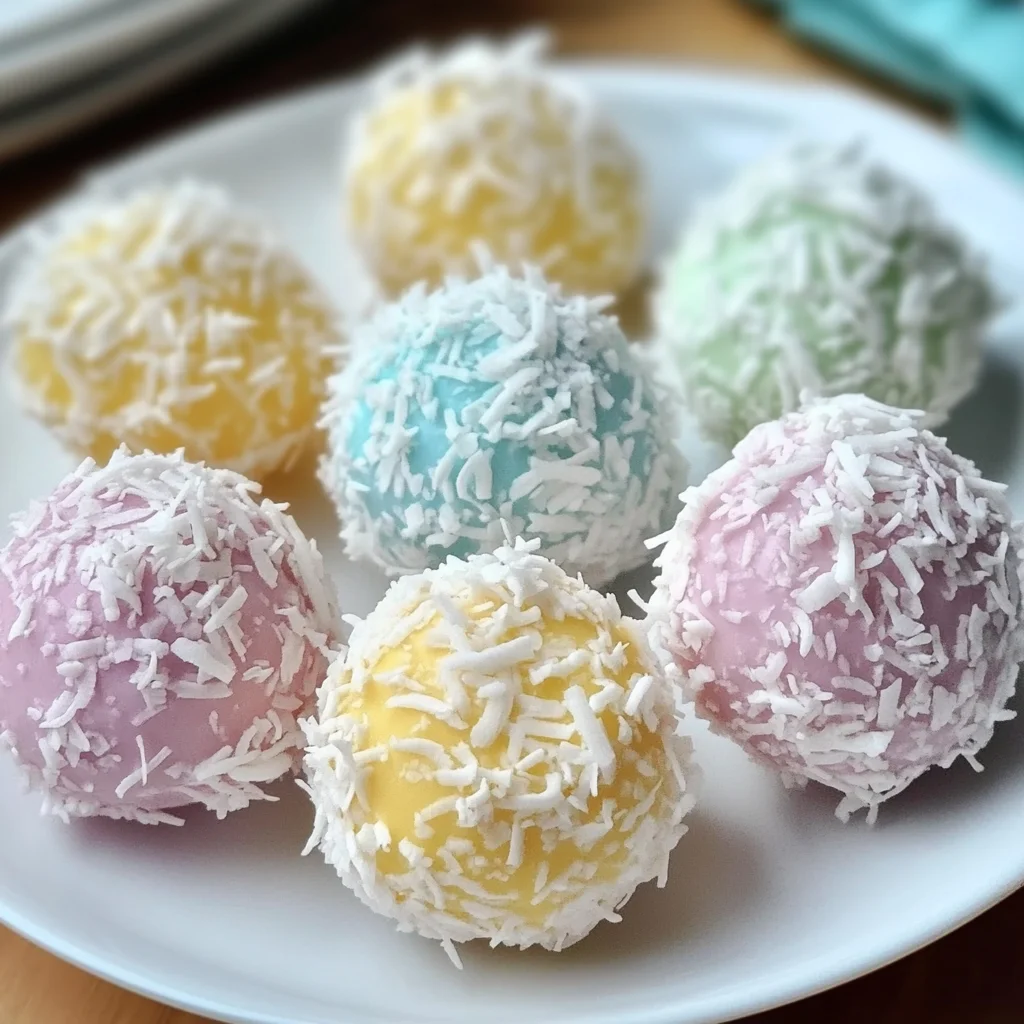
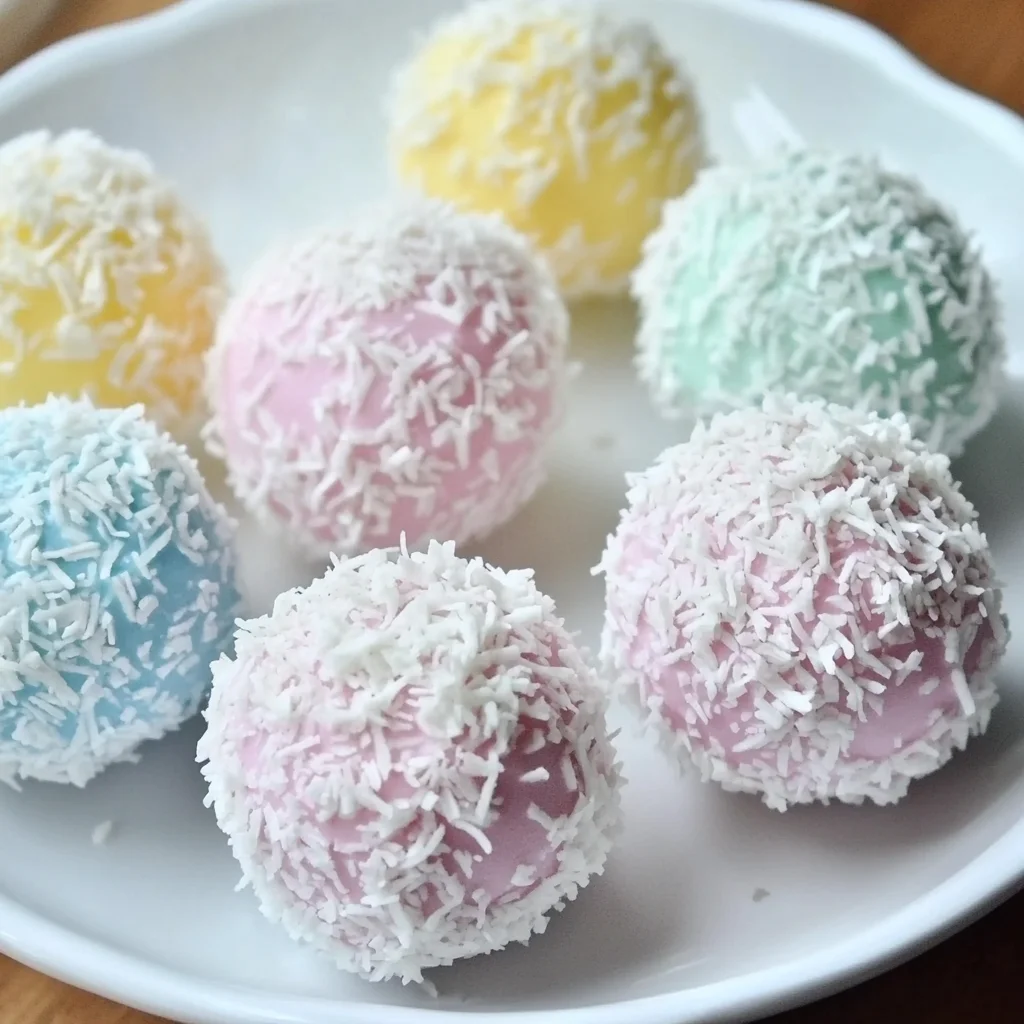
If you’re looking for a fun and festive treat to celebrate Easter, you’re in the right place! These Easter Bunny Coconut Tails are not only adorable but also incredibly easy to whip up. With just a few ingredients and a bit of creativity, you can create a delightful dessert that will bring smiles to both kids and adults alike. I remember making these with my family when I was little, and they always brightened our holiday gatherings. Let’s dive into this sweet adventure together!
Why You’ll Love Easter Bunny Coconut Tails
- Fast
- Easy
- Giftable
- Crowd-pleasing
Ingredients
Before we get started, let’s gather our ingredients. Here’s what you’ll need:
- 1 ½ cups shredded coconut: This is the star of the show, giving our tails that fluffy, sweet texture.
- 1 cup sweetened condensed milk: This adds a rich sweetness and helps bind everything together.
- 1 teaspoon vanilla extract: A classic flavor that pairs beautifully with coconut.
- ½ teaspoon almond extract: Just a hint of almond adds a delightful twist to the flavor.
- 1 cup chocolate chips: For that luscious coating that makes these tails irresistible.
- 2 tablespoons coconut oil: Helps the chocolate melt smoothly and gives it a nice shine.
- Candy eyes: Because what’s a bunny without eyes? These make our tails come to life!
- Pink candy melts or pink icing: For the cute little bunny nose.
- Mini marshmallows: These will serve as fluffy tails and complete the adorable look.
How to Make Easter Bunny Coconut Tails
Now, let’s get our hands a little messy and create these delightful bunny tails!
- Preheat your oven to 350°F (175°C). This step is crucial for that perfect bake!
- Mix it up: In a mixing bowl, combine the shredded coconut, sweetened condensed milk, vanilla extract, and almond extract. Stir until everything is well combined. You’ll love how the mixture starts to come together.
- Shape the tails: Take small portions of the coconut mixture and shape them into oval forms. Place them on a parchment-lined baking sheet. Aim for about 1.5 to 2 inches long for that perfect bunny tail look.
- Bake in the preheated oven for 10-12 minutes, or until they are lightly golden. Once they are done, remove them from the oven and let them cool completely.
- Melt the chocolate: In a microwave-safe bowl, combine the chocolate chips and coconut oil. Heat in the microwave, stirring every 30 seconds until smooth. Make sure to keep an eye on it to prevent burning.
- Dip and decorate: Take each cooled coconut tail and dip it into the melted chocolate, coating it fully. Place them back on the parchment paper.
- Attach the features: While the chocolate is still wet, gently place candy eyes and a pink candy melt or icing for the nose on each tail.
- Add the tails: Top each bunny tail with a mini marshmallow for that fluffy effect.
- Let it set: Allow the chocolate to harden completely before serving. You can speed this up by placing them in the fridge for a bit.
Substitutions and Additions
Feeling a bit adventurous? Here are some fun substitutions and additions you might consider:
- Use dark chocolate instead of milk chocolate for a richer flavor.
- Swap out the almond extract for coconut extract for an extra coconutty taste.
- Add some colorful sprinkles on top before the chocolate sets for a festive touch.
- If you want to make them gluten-free, rest assured these are already gluten-free!
Tips for Success
To make sure your Easter Bunny Coconut Tails turn out perfectly, here are a few tips:
- Make sure to let the coconut mixture cool before shaping to prevent it from being too sticky.
- Watch the baking time closely; you want them golden, not brown.
- If you’re making these ahead of time, you can prepare the coconut mixture a day in advance and keep it in the fridge.
How to Store Easter Bunny Coconut Tails
If you have any leftovers (which I doubt!), store them in an airtight container at room temperature for about 3-4 days. You can also refrigerate them to extend their shelf life. Just remember to bring them back to room temperature before serving for the best texture.
FAQs
- Can I make these ahead of time? Absolutely! You can prepare them a day in advance and keep them in the fridge.
- Can I use unsweetened coconut? Yes, but the tails will be less sweet. I recommend adding a bit more sweetened condensed milk if you go this route.
- What can I use instead of chocolate chips? You could use white chocolate chips for a different flavor or even candy melts.
These Easter Bunny Coconut Tails are bound to be a hit at your springtime gatherings. They are fun to make, delightful to eat, and they bring a bit of joy to any celebration. So gather your loved ones, roll up your sleeves, and enjoy the process of creating these adorable treats! Don’t forget to check out my other recipes for delicious dishes, like this spaghetti with mushroom sauce or this refreshing caprese salad!
And if you’re inspired by these recipes, be sure to follow my Pinterest account for more tasty ideas!
Easter Bunny Coconut Tails
Ingredients
Equipment
Method
- Step 1: Preheat the oven to 350°F (175°C).
- Step 2: In a mixing bowl, combine shredded coconut, sweetened condensed milk, vanilla extract, and almond extract. Mix until well combined.
- Step 3: Shape the coconut mixture into small oval forms to resemble bunny tails. Place them on a parchment-lined baking sheet.
- Step 4: Bake in the preheated oven for 10-12 minutes, or until lightly golden. Remove from the oven and let cool completely.
- Step 5: In a microwave-safe bowl, melt the chocolate chips and coconut oil together until smooth, stirring every 30 seconds to prevent burning.
- Step 6: Dip each coconut tail into the melted chocolate, ensuring they are fully coated, and then place them back on the parchment paper.
- Step 7: While the chocolate is still wet, attach candy eyes and a pink candy melt or icing for the nose.
- Step 8: For the tail, place a mini marshmallow on top of each bunny tail.
- Step 9: Allow the chocolate to set completely before serving. Enjoy!