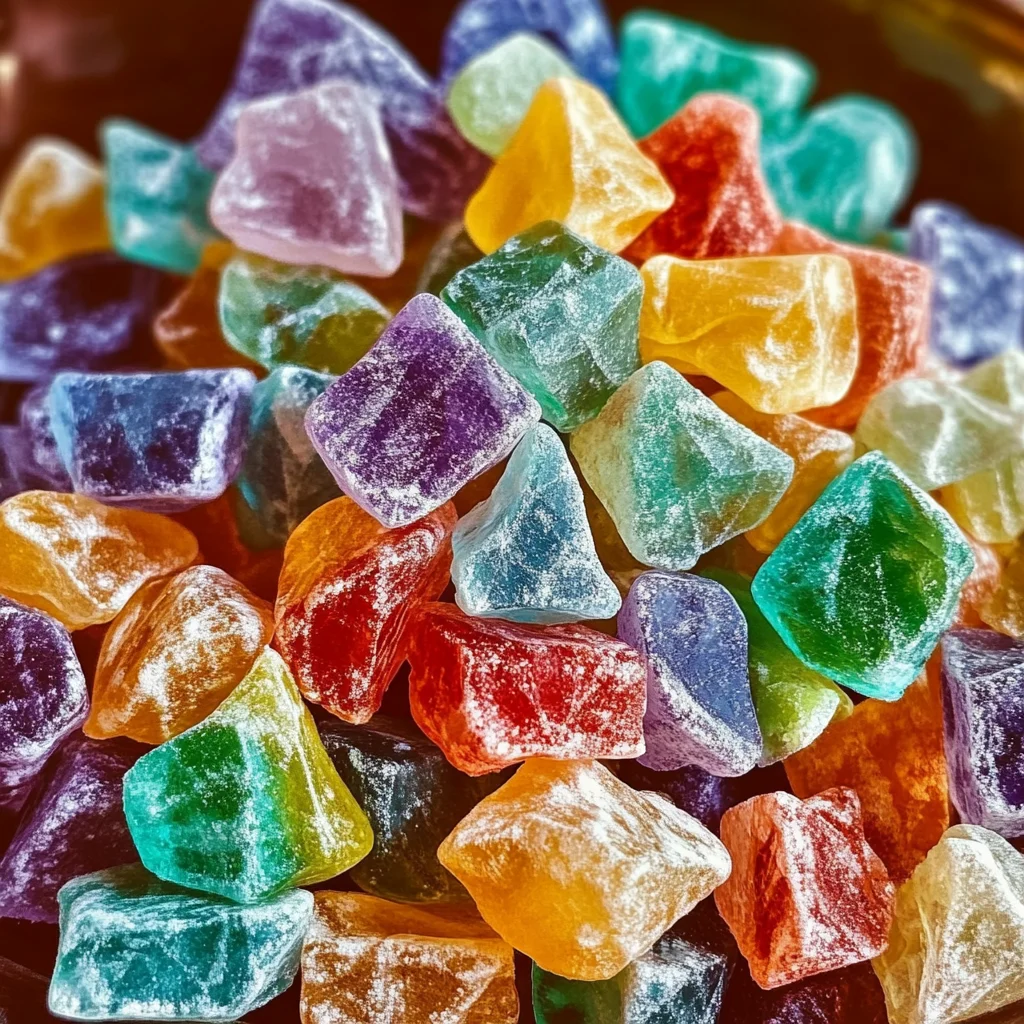
There’s something truly magical about watching sugar transform into shimmering, jewel-like candy right before your eyes. Stained Glass Rock Candy has that nostalgic charm that takes me back to childhood fairs and holiday gatherings, where these bright, translucent shards sparkled in the sunlight and delighted everyone around. It’s one of those recipes that’s as much fun to make as it is to eat. Whether you’re crafting it with kids or looking for a unique homemade gift, this candy is sure to bring a smile to anyone’s face.
What I love most about making stained glass rock candy is how straightforward the process is — no complicated ingredients or fancy equipment needed, just simple kitchen staples and a little patience. Plus, it’s fast enough to satisfy your sweet tooth without spending all day in the kitchen. By the end, you’ll have these gorgeous, colorful candies that are perfect for snacking, decorating desserts, or even gifting to friends and family. And trust me, once you’ve tried this, you might just want to try other creative treats like my Blueberry Swirl Yogurt Bites or those irresistible Pineapple Upside-Down Sugar Cookies to keep your sweet adventures going!
Why You’ll Love Stained Glass Rock Candy
- Fast: From start to finish, you can have rock candy ready in just about an hour.
- Easy: No special candy-making skills required! Just follow the steps and watch the magic happen.
- Giftable: These pretty candies make charming homemade gifts that show you care.
- Crowd-pleasing: Whether at parties or holiday gatherings, they’re a guaranteed hit with kids and adults alike.
Ingredients
Gathering your ingredients ahead of time makes the process smoother. Here’s what you’ll need:
- 1 cup water: The base for dissolving the sugar and creating that perfect syrup.
- 4 cups granulated sugar: The star of the show, providing sweetness and structure.
- 1 1/2 cups light corn syrup: Helps prevent crystallization, ensuring your candy sets with a smooth, glassy finish.
- 2 teaspoons flavored oil or 4 teaspoons flavored extract: Adds delightful taste; think vanilla, lemon, peppermint, or any flavor you love.
- 1 teaspoon gel food coloring: Gives your candy those vibrant stained glass hues that make it so eye-catching.
- 1 1/2 cups powdered sugar: Used to coat your baking sheet and prevent the candy from sticking, plus a dusting at the end to keep shards separate.
These simple ingredients come together beautifully. If you’re curious about experimenting with other sweet treats using everyday pantry staples, I highly recommend checking out my cozy Easy Moist Banana Bread recipe — it’s a comforting classic that’s always a crowd favorite.
How to Make Stained Glass Rock Candy
Now, let’s dive into making this dazzling candy. I’ll walk you through each step carefully, so you feel confident even if it’s your first time making candy.
- Prepare your workspace: Line a baking sheet with foil, then evenly spread the powdered sugar over the surface. Using the back of a spoon or your finger, create about nine swirling “S” shaped wells in the powdered sugar. These little wells will hold the candy syrup as it cools and hardens. If you plan to make multiple colors or flavors, prepare additional pans the same way.
- Make the sugar syrup: In a heavy saucepan, combine the water, granulated sugar, and light corn syrup. Place the pan over medium-high heat and stir continuously until the sugar has completely dissolved. This step is key to prevent grainy candy later.
- Boil to the hard crack stage: Attach a candy thermometer to the pan, making sure it doesn’t touch the bottom. Stop stirring and let the syrup boil until it reaches 300°F (the hard crack stage). This is when the candy will be hard and brittle once cooled — perfect for those stained glass shards!
- Remove from heat: Take the pan off the stove and wait for all bubbling to stop. This ensures the syrup is stable and ready for coloring and flavoring.
- Color and flavor your candy: Quickly divide the syrup into separate heatproof bowls if you want multiple colors. Stir in gel food coloring and your chosen flavored oil or extract right away — the syrup will start to set quickly, so speed is essential!
- Drizzle the syrup into powdered sugar wells: Carefully spoon or drizzle the hot syrup into the swirling wells you made earlier. The syrup will spread slightly and settle into beautiful, glassy pools. This is the fun part where you see your candy take shape!
- Let it cool: Leave the pans at room temperature for about 1 hour, or until the candy is fully hardened. Avoid moving the pans during this time to prevent cracks or uneven cooling.
- Cut into shards: Once hardened, use kitchen scissors or a sharp knife to cut the candy into smaller, bite-sized pieces or fun shapes.
- Dust and store: Lightly dust the shards with more powdered sugar to keep them from sticking together. Store your stained glass rock candy in an airtight container at room temperature.
And there you have it! I remember the first time I made this candy; it felt like crafting little edible jewels. The colors were so vibrant, and the taste was perfectly sweet with a hint of my favorite peppermint extract. If you’re looking to wow your guests or delight the kids, this candy is a fantastic choice. Plus, if you’re a fan of quick, flavorful dishes, you might also enjoy my simple yet delicious recipe for Easy Flavorful Chicken Ramen, which pairs beautifully with a sweet treat like this!
Substitutions & Additions
One of the best things about stained glass rock candy is how customizable it is. Here are some ideas to make it your own:
- Flavored oils vs. extracts: If you don’t have flavored oils, extracts work just fine. Just remember extracts are more potent, so use less.
- Natural colorings: Try using natural food colorings like beet juice powder for red or spirulina powder for green to avoid artificial dyes.
- Multiple colors on one sheet: Make different colors on the same sheet by carefully spacing out your syrup drizzles in separate wells.
- Edible glitter or shimmer dust: For an extra sparkle, gently sprinkle edible glitter over the syrup before it hardens.
- Flavor combos: Mix and match flavors like lemon-vanilla or cherry-almond for a unique taste experience.
If you’re feeling adventurous, you could even pair this candy with other homemade goodies like my Easy S’more Bars to create a fun dessert platter that’s sure to impress.
Tips for Success
- Use a candy thermometer: Accurate temperature is crucial. The hard crack stage at 300°F ensures your candy will harden properly without being sticky or chewy.
- Work quickly after boiling: The syrup sets fast, so be ready to color and pour immediately once you remove it from heat.
- Powdered sugar preparation: Don’t skip coating your baking sheets with powdered sugar — it prevents sticking and helps give the candy that signature “stained glass” look.
- Room temperature cooling: Avoid refrigerating the candy during cooling to prevent cloudiness or cracking.
- Prep ahead: You can prepare the powdered sugar beds and swirling wells in advance to save time on candy day.
When I first tried this recipe, I learned that rushing the cooling process leads to cracks, so patience really pays off. Also, cleaning your saucepan immediately after use helps keep your kitchen sparkling and prevents hardened sugar residue.
How to Store Stained Glass Rock Candy
Proper storage keeps your candy fresh and looking beautiful. Here’s what you need to know:
- Use airtight containers: Store your candy shards in airtight containers or zip-top bags to protect them from moisture.
- Keep at room temperature: Avoid storing in the fridge, as humidity can cause the candy to become sticky or cloudy.
- Shelf life: When stored properly, stained glass rock candy can last for several weeks. Just be sure to dust with powdered sugar before sealing to prevent sticking.
If you plan to gift the candy, wrapping it in cellophane bags tied with colorful ribbons adds a lovely touch. These little beauties make for charming presents that show off your handmade love.
FAQs
Can I use regular food coloring instead of gel food coloring?
Regular liquid food coloring can work, but gel food coloring provides more intense color without thinning the syrup. It’s best for vibrant stained glass effects.
What happens if my candy doesn’t harden properly?
This usually means the syrup didn’t reach the hard crack stage (300°F). Use a reliable candy thermometer and make sure to boil to the correct temperature.
Can I reuse the powdered sugar on the baking sheet?
It’s best to use fresh powdered sugar each time to avoid clumping or moisture that can affect the candy’s texture.
Is it safe to eat the candy right after it cools?
Yes! Just be cautious as it’s very hard and brittle, so bite carefully to avoid hurting your teeth.
For more sweet inspiration, don’t forget to explore recipes and kitchen tips at WhizTips—a treasure trove for home cooks like us.
Happy candy making! If you enjoyed this recipe, you might also want to check out my other favorite easy desserts and savory dishes that add a little extra joy to your table.
And before you go, be sure to follow my Pinterest page for loads of gorgeous, tasty ideas and step-by-step guides that make cooking and baking a breeze!
Stained Glass Rock Candy
Ingredients
Equipment
Method
- Step 1: Line a baking sheet with foil and evenly spread powdered sugar over the surface. Use the back of a spoon or your finger to create about nine swirling “S” shaped wells to hold the candy syrup.
- Step 2: In a heavy saucepan, combine water, granulated sugar, and light corn syrup. Heat over medium-high, stirring continuously until the sugar dissolves completely.
- Step 3: Attach a candy thermometer so it doesn't touch the pan bottom. Stop stirring and boil the syrup until it reaches 300°F (hard crack stage).
- Step 4: Remove the pan from heat and wait for bubbling to stop. Quickly divide the syrup into heatproof bowls for multiple colors if desired. Stir in gel food coloring and flavored oil or extract immediately.
- Step 5: Carefully spoon or drizzle the hot syrup into the powdered sugar wells on the baking sheet, creating colorful glassy pools.
- Step 6: Let the candy cool and harden at room temperature for about 1 hour without moving the pans.
- Step 7: Once hardened, cut the candy into smaller shards or fun shapes using kitchen scissors or a sharp knife.
- Step 8: Lightly dust the candy shards with powdered sugar to prevent sticking and store in an airtight container at room temperature.